Azure Bastion is a PaaS service which allows you to securely connect to Virtual Machines using the Azure Portal using HTTPS without having to expose RDP or SSH to the internet via a public IP.
This removes the risk of having a jump box exposed to the internet which is insecure. Azure Bastion also ensures anyone connecting is already authenticated via the Azure portal, before being prompted for server login credentials.
It is simple to deploy a bastion host and there aren’t any additional extensions to install on the VM or within your browser for this to work.
“Azure Bastion is a fully managed service that provides more secure and seamless Remote Desktop Protocol (RDP) and Secure Shell Protocol (SSH) access to virtual machines (VMs) without any exposure through public IP addresses. Provision the service directly in your local or peered virtual network to get support for all the VMs within it.”
https://azure.microsoft.com/en-gb/services/azure-bastion/
Azure Bastion requires its own subnet which must be named “AzureBastionSubnet” and this subnet should be at least a /27 in size.
You can connect to any VM within the same vNet as Azure Bastion and any VM within any vNet peered directly with the vNet Bastion is deployed within, however it cannot traverse multiple vNet peerings.
There are two SKUs for Azure Bastion:
- Basic
- Basic deploys 2 Bastion hosts.
- Standard
- Standard allows a configurable number of Bastion hosts between 2 and 50 enabling more sessions if required.
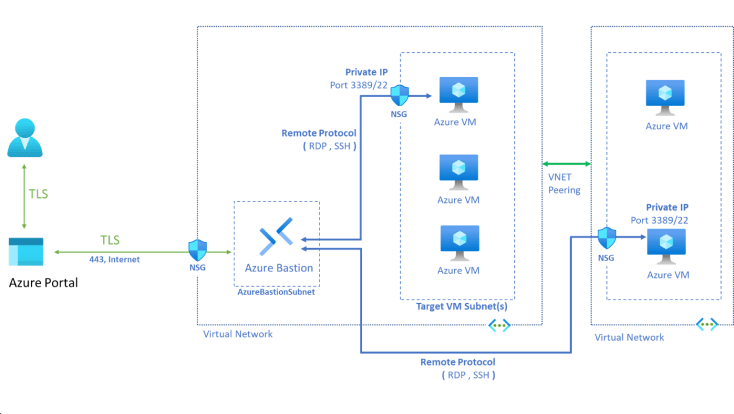
Below is a diagram of what we are going to create:
- 1 vNet with 2 Subnets (AzureBastionSubnet and snet-uks-t-mgmt-vms)
- 1 Windows VM connected to snet-uks-t-mgmt-vms
- 1 Bastion Standard connected to AzureBastionSubnet

Create the Virtual Network
- Create a Virtual Network
- select your Subscription
- select or create a Resource Group
- enter a Virtual Network Name
- select a Region

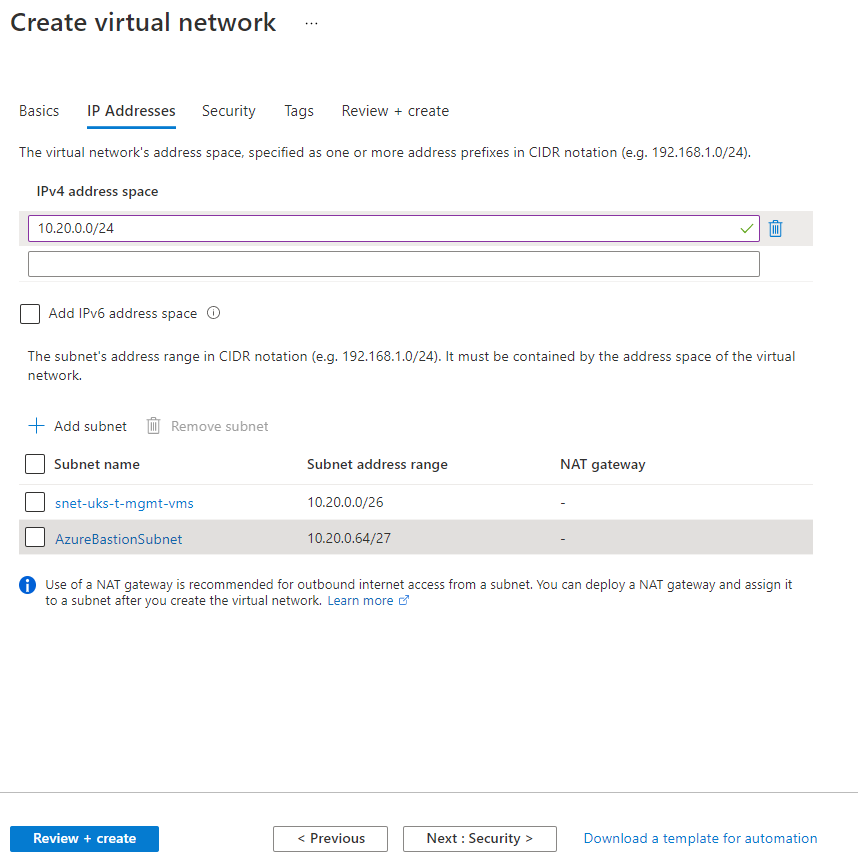
2. Enter an Address Space for the Virtual Network e.g. 10.20.0.0/24.
3. Create 2 Subnets:
- snet-uks-t-mgmt-vms with an address range of 10.20.0.0/26
- AzureBastionSubnet with an address range of 10.20.0.64/27
Note: Azure Bastion requires its own subnet which must be named “AzureBastionSubnet” and this subnet should be at least a /27 in size.
Create the Virtual Machine
4. Create a Virtual Machine and connect it to the subnet “snet-uks-t-mgmt-vms”.
- OS: Windows Server 2019 Datacenter
- Size: B2s
- Disk: Standard HDD
- Subnet: snet-uks-t-mgmt-vms
- Public IP: No public IP

Create the Bastion
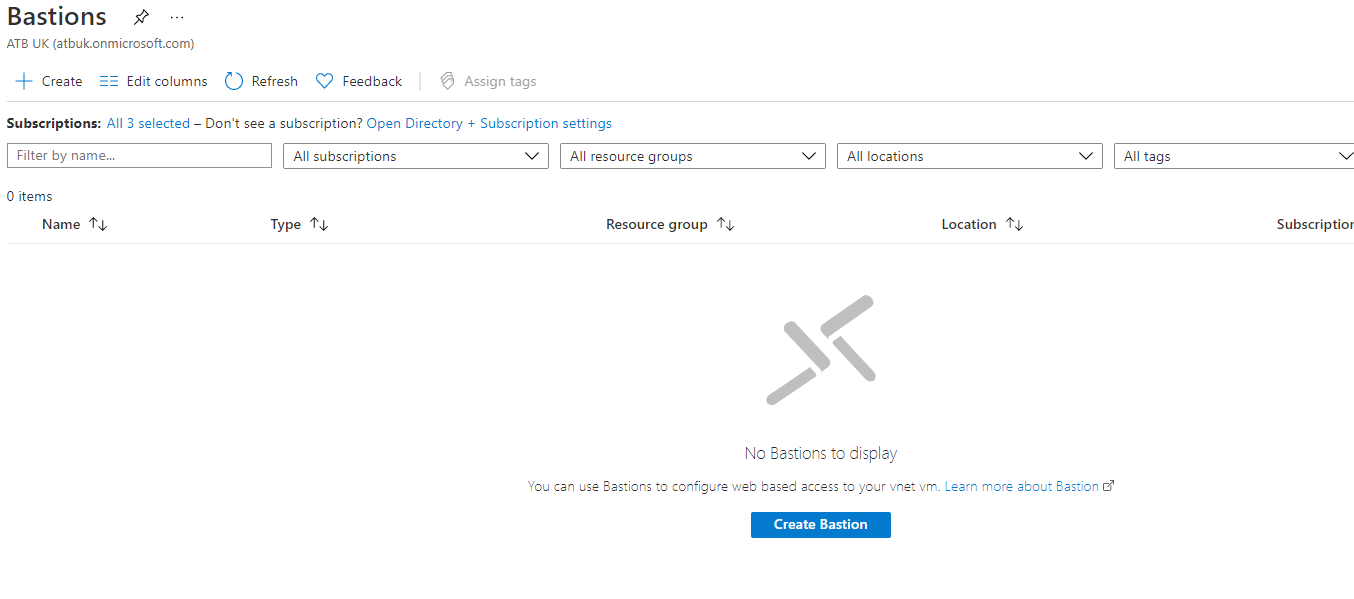
5. Search for “Bastion” and click Create Bastion.
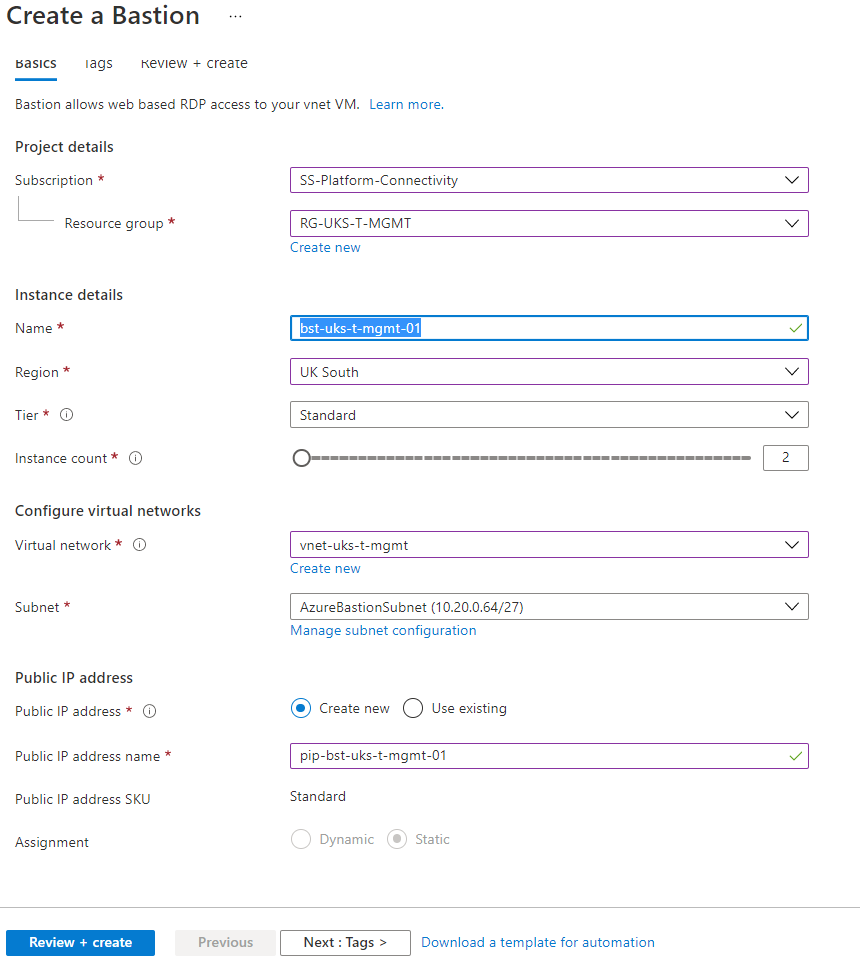
6. Create a Bastion with the following settings:
- select your Subscription
- select or create a Resource Group
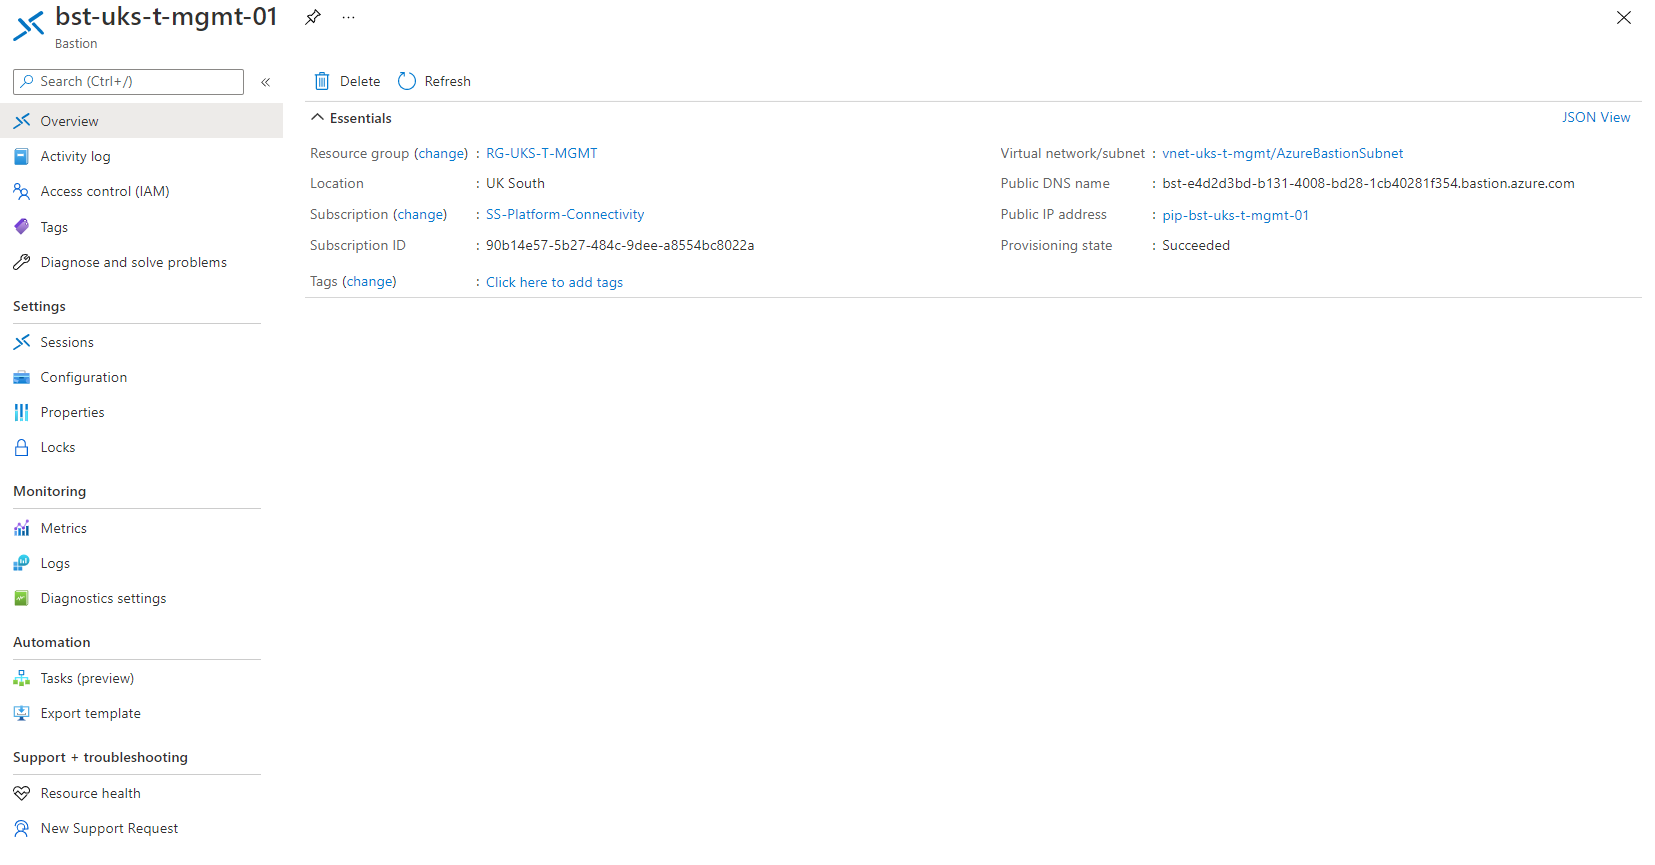
- Bastion Name: bst-uks-t-mgmt-01
- Region: UK South
- Tier: Standard
- Instance Count: 2
- Virtual Network: vnet-uks-t-mgmt
- Subnet: AzureBastioSubnet
- Public IP: pip-bst-uks-t-mgmt-01
7. Review the settings and click Create.

8. The Bastion will take a few minutes to deploy. Once complete you will see the Provisioning State “Succeeded” as below.
Connect to a VM via the Bastion
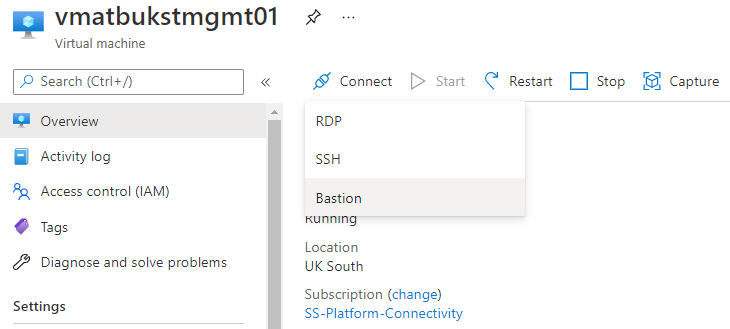
9. To connect to a Virtual Machine via the new Bastion, navigate to the VM created earlier within the same Virtual Network, select Connect and Bastion from the sub menu.
10. Enter the username and password for the VM and click Connect.

11. You will be connected to the VM console via your internet browser.
Note: You may need to accept popups when the console opens in another tab/window.

Scale up/down the Bastion Instances
12. Once Azure Bastion is deployed, it is possible to scale the Standard SKU instance count up and down as required to support additional sessions.
This is done via Settings –> Configuration, and using the slider to change the number of instances from 2 to 50.
